Mini Waffle Maker Recipes, There’s something magical about waking up to the smell of warm, crispy waffles. But let’s be honest who has time for a full-blown breakfast production on a weekday morning? That’s where this Classic Mini Waffles recipe comes in. With your Dash mini waffle maker (or any mini waffle iron), you can whip up golden, fluffy waffles in minutes!
Whether you’re feeding a house full of hungry kids, meal-prepping for the week, or just treating yourself to a cozy breakfast, these easy waffle recipes will make your mornings feel extra special without the extra effort.
Why You’ll Love This Mini Waffle Maker Recipe
✔ Quick & Easy – Ready in under 15 minutes! Perfect for busy mornings.
✔ Crispy on the Outside, Fluffy on the Inside – Thanks to a little buttermilk magic!
✔ Endlessly Customizable – Want chocolate chip waffles? Add chocolate chips! Need keto waffles? Swap in almond flour!
✔ Perfect for Any Occasion – Whether it’s breakfast, brunch, or a midnight snack (we don’t judge).

Ingredients You’ll Need
- 1 cup all-purpose flour
- 1 tbsp sugar
- 1 tsp baking powder
- ½ tsp baking soda
- ¼ tsp salt
- ¾ cup milk (or buttermilk for extra fluffiness)
- 1 egg
- 2 tbsp melted butter
- 1 tsp vanilla extract
How to Make Classic Mini Waffles
Step 1: Preheat & Prep
Heat your mini waffle maker and lightly grease it with butter or cooking spray. A well-greased waffle maker = no sad, stuck-on waffles.
Step 2: Mix the Dry Ingredients
In a mixing bowl, whisk together the flour, sugar, baking powder, baking soda, and salt.
Step 3: Mix the Wet Ingredients
In a separate bowl, whisk the milk, egg, melted butter, and vanilla extract until well combined.
Step 4: Combine
Gradually pour the wet ingredients into the dry ingredients, stirring gently. Don’t overmix! (A few lumps are totally fine—overmixing = tough waffles, and nobody wants that.)
Step 5: Cook the Waffles
Pour 2-3 tablespoons of batter into your Dash mini waffle maker and close the lid. Cook for 3-4 minutes until golden brown and crispy.
Step 6: Serve & Enjoy
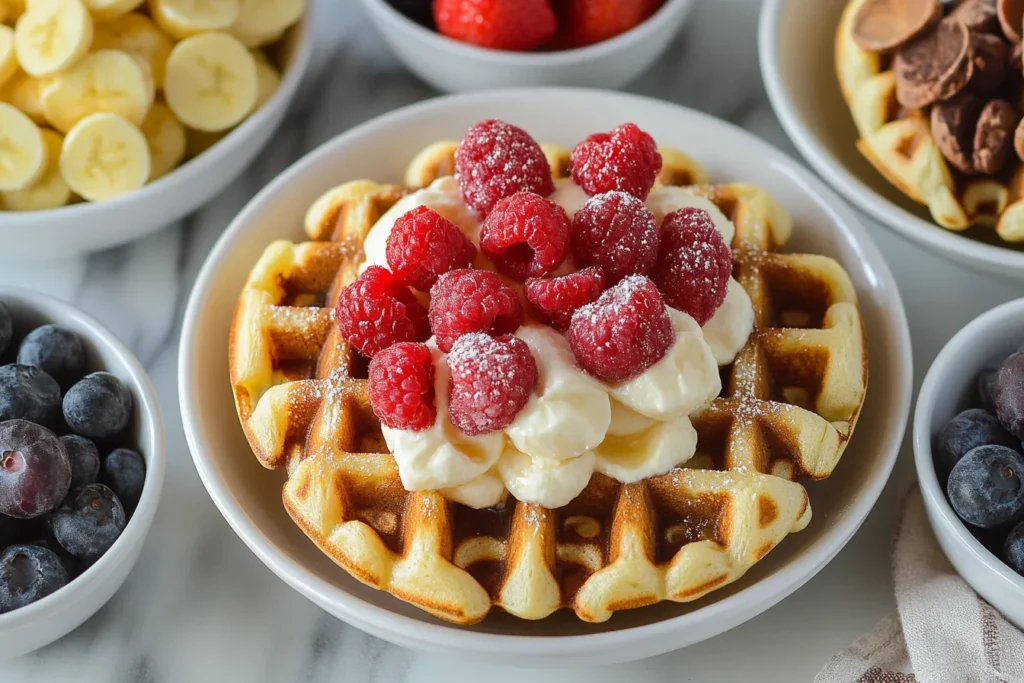
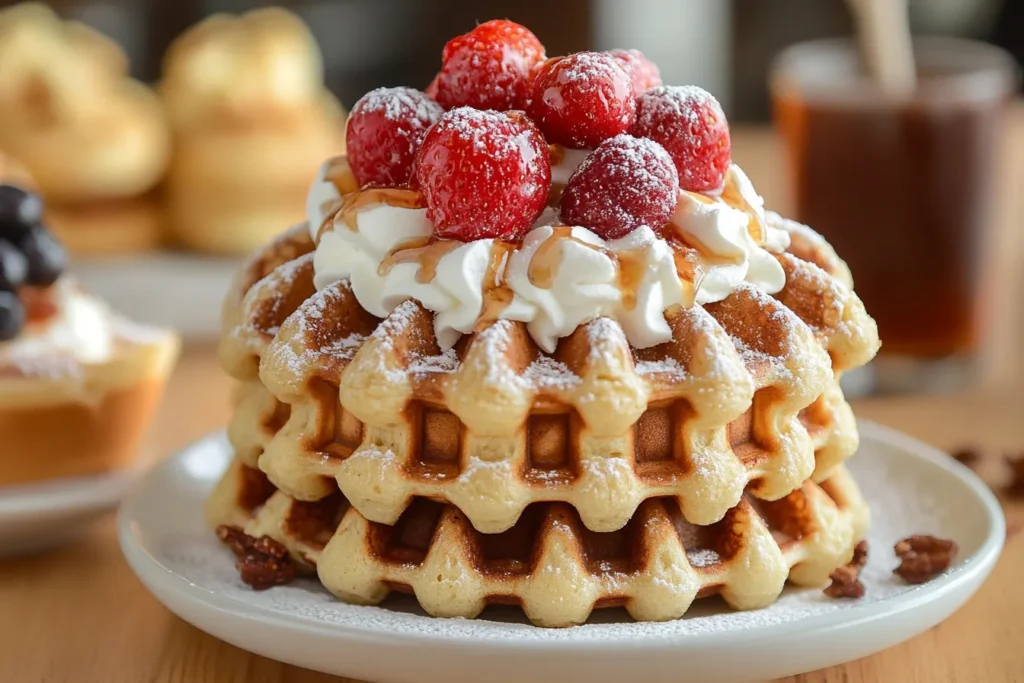
Carefully remove the waffle (a fork or silicone spatula works best), and repeat with the remaining batter. Serve warm with syrup, fruit, or your favorite toppings.
Mini Waffle Maker Tips & Tricks

For Extra Crispy Waffles – Let them cook for an extra 30-60 seconds after the waffle maker says they’re done. The crispy edges are so worth it.
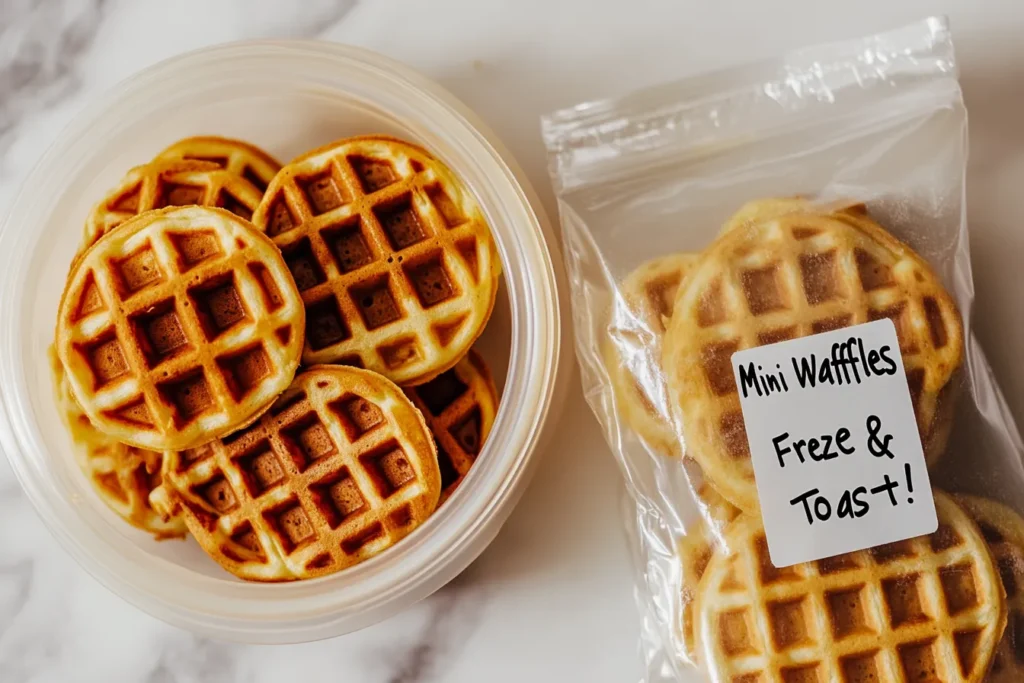
Make-Ahead Magic – These waffles freeze beautifully! Just pop them in the toaster when you need a quick breakfast.
Fun Flavor Twists – Stir in mini chocolate chips, cinnamon, or even a little pumpkin spice for seasonal flair!
Gluten-Free or Keto? – Swap the all-purpose flour for almond flour or a 1:1 gluten-free flour blend for a healthier twist.

FAQs: Everything You Need to Know
Q: Can I use almond milk instead of regular milk?
A: Absolutely! Almond, oat, or even coconut milk will work just fine.
Q: How do I keep waffles warm while cooking multiple batches?
A: Place finished waffles on a wire rack in a 200°F oven to keep them warm and crispy while you finish the rest.
Q: Can I double this recipe?
A: Yes! Just double all the ingredients and keep flipping those waffles until you have enough for the whole family (or just a very delicious meal prep session).
Final Bite: Mini Waffle Magic
With just a few simple ingredients and a mini waffle maker, you can have homemade waffles that taste way better than anything from a box. Whether you’re making a quick breakfast, brunch, or even dessert (hello, ice cream waffle sandwiches!), this recipe is a must-have for your kitchen.
So go ahead—plug in that waffle maker, pour yourself a cup of coffee, and treat yourself to a stack of golden, crispy, fluffy goodness. You deserve it. ❤️

